How to Read Pipe Pressure Ratings for Safe System Design
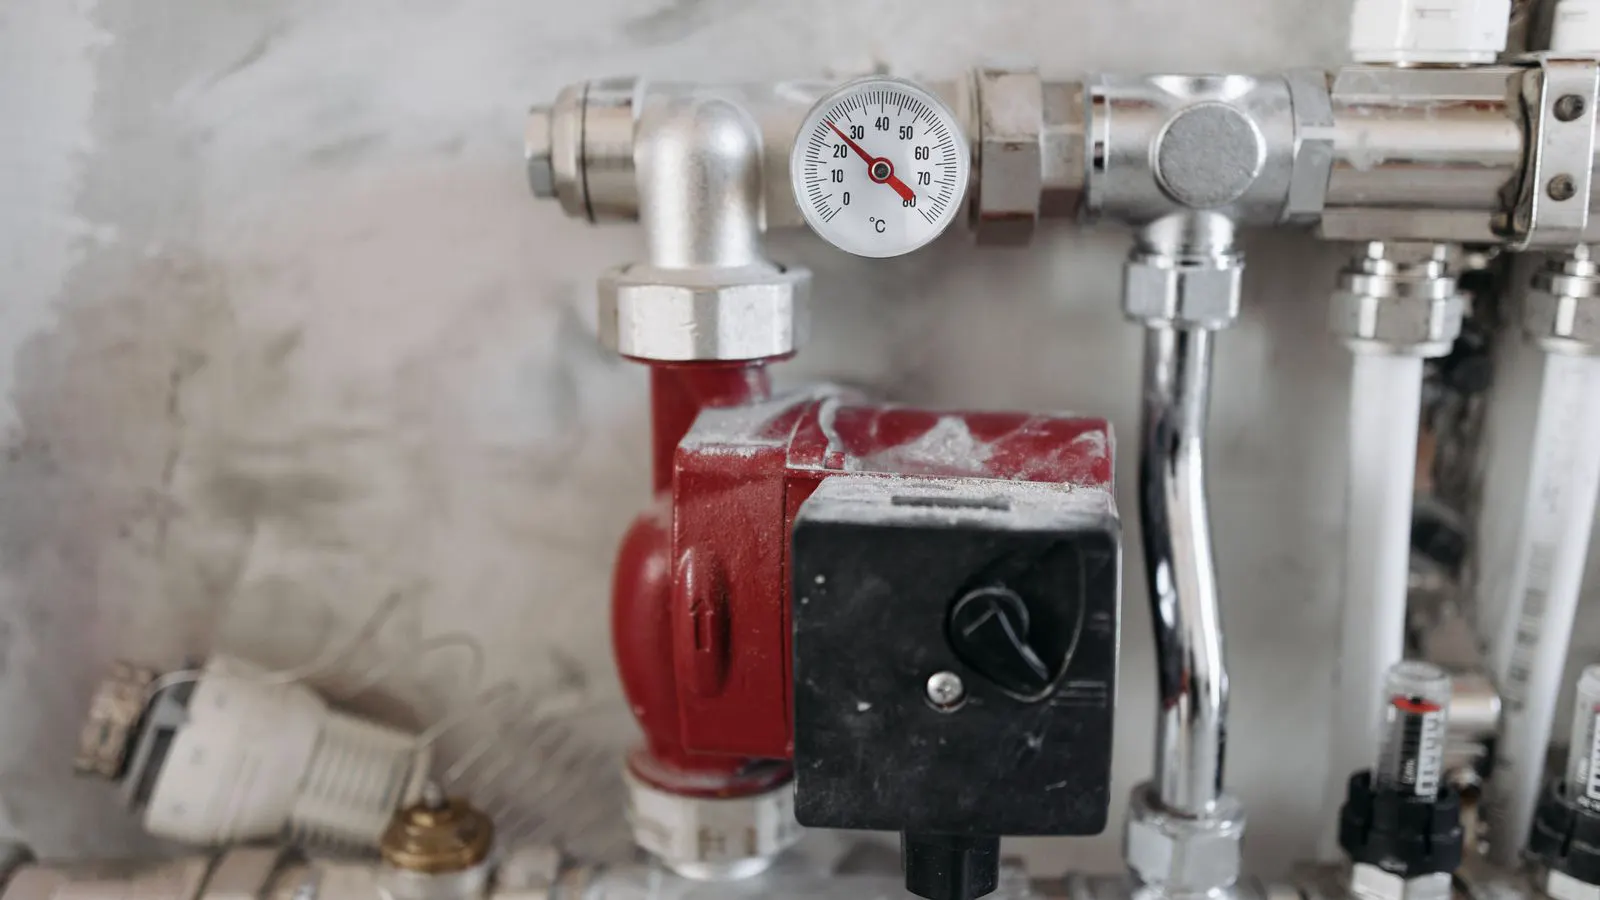
A pipe pressure rating shows the maximum pressure a fitting can handle at a specific temperature. Engineers must match this rating to the working pressure of their system, apply derating factors, and verify the pressure class to ensure safe operation.
- A pipe pressure rating is not a single number. It is a limit that changes based on material, temperature, and connection type.
- Always check the pressure class and temperature derating tables provided by the manufacturer before selecting fittings.
- The working pressure of the system must be lower than the rated pressure of the most restrictive component in the line.
- Do not mix pressure classes within a single system unless the design explicitly accounts for the weakest link.
- Verify that the pressure rating on the physical part matches the technical data sheet and the project specification.
Why Pressure Ratings Vary by Component
A pipe pressure rating is the maximum internal pressure a specific fitting or pipe segment can withstand without failing. It is printed on the part or listed in the technical data sheet. This number is not a universal constant. It changes when you change the material, the wall thickness, the connection method, or the operating temperature.
Engineers often make a mistake by looking only at the nominal size. A DN50 fitting and a DN50 pipe of the same material do not always share the same pressure limit. The fitting may have a thinner wall or a different geometry that reduces its strength. When sourcing parts, you must read the rating on the actual component you are buying, not just the rating for the pipe itself.
The rating is a safety limit, not a target operating pressure. Designing a system to run at the maximum rated pressure leaves no margin for spikes, corrosion, or manufacturing variance. Good practice requires a safety factor. You select components with a rating comfortably above the expected maximum operating pressure.
What Working Pressure Means in Practice
Working pressure is the pressure at which the system operates under normal conditions. It is the steady-state value the pump or compressor generates. It is distinct from the test pressure, which is a higher value applied during factory hydrostatic or pneumatic testing.
The relationship between working pressure and pipe pressure rating is simple but strict. The rating must exceed the working pressure by a defined margin. If the working pressure is high, you need a higher pressure class. If the working pressure is low, a lower class may suffice, but you must still check the minimum requirements of the code or standard used for the project.
Consider a steam distribution line. The working pressure might be stable, but the shutoff valve and the elbow might see pressure spikes when the flow stops. The rating of those components must account for the transient pressure, not just the steady working pressure. This is where the pressure class designation becomes useful.
Understanding Pressure Class Designations
Pressure class is a standardized way to group fittings and pipes by their strength. It is often represented by a number, a letter, or a combination of both. The exact meaning depends on the standard or specification being followed.
A higher pressure class indicates a thicker wall, a stronger material, or a more robust connection design. It is not always a linear step. The difference between class 10 and class 20 is not the same as the difference between class 100 and class 200. You must read the specific table for the standard you are using.
When reading a label, look for the class number near the size and material code. For example, a flange might be marked with a class rating that corresponds to a specific pressure limit at a given temperature. If the label is missing or faded, you cannot assume the part is safe. You must trace it back to the manufacturer or reject it.
The Role of Temperature in Pressure Ratings
Temperature is the factor that most often invalidates a pressure rating. Metals expand as they heat up. This expansion reduces the cross-sectional area of the wall and lowers the tensile strength of the material. The result is a lower pressure limit.
Manufacturers provide derating tables. These tables show how the maximum allowable pressure decreases as the temperature rises. A fitting rated for a certain pressure at ambient temperature will have a lower allowable pressure at high temperature. Ignoring this derating is a common cause of failures in steam and hot water systems.
If your application involves temperature swings, you must design for the highest temperature you expect to see. The rating at that peak temperature is your governing limit. A system that runs cool most of the time but occasionally sees a hot surge must be rated for the surge, not the average.
How to Apply Ratings to System Design
To use pipe pressure ratings correctly, start with the system requirements. Determine the maximum working pressure and the maximum operating temperature. These two numbers define your selection criteria.
Next, identify the most restrictive component. This is usually the weakest part in the line. It could be a valve, a reducer, a long pipe run with thin walls, or a connection point. The rating of this component sets the ceiling for the entire system.
Finally, verify the components against the rating. If the valve rating is lower than the pipe rating, the pipe is over-sized for that pressure. You must either replace the valve with a higher class or reduce the system pressure. The design is only as strong as the weakest link.
A Worked Example in Plain Words
Imagine you are designing a compressed air line for a workshop. The compressor is set to produce 10 bar of air. The line will run at a steady 10 bar during normal operation. You have selected a pipe with a pressure rating of 16 bar at the operating temperature.
You also need a shut-off valve. The valve you find in the catalog is rated for 12 bar. At first glance, this seems fine because 12 is greater than 10. But you must check the temperature. The air in the line is ambient. The derating is minimal. However, you must consider safety. If you run at 10 bar, you have only 2 bar of margin on the valve. If the compressor fails and pressure spikes, the valve is at risk.
A better choice is a valve rated for 16 bar or higher. This gives you a larger safety margin. You might also look at the pressure class. If the pipe is a higher class than the valve, the valve becomes the weak point. You want the components to match or for the valve to be stronger than the pipe.
Common Mistakes to Avoid
One frequent error is assuming that all fittings of the same size have the same rating. They do not. A short nipple and a long reducer of the same nominal size may have different ratings due to wall thickness and geometry. Always check the individual part data sheet.
Another mistake is ignoring the connection type. A threaded connection may have a different rating than a welded or flanged connection of the same material and size. The threads can be a point of stress concentration. The rating printed on the fitting may apply to the fitting as a whole, but the specific connection method must be verified.
Do not rely on visual inspection to determine pressure safety. A fitting may look intact but have internal corrosion or a crack. The rating assumes the material is sound. If the part has been in service for a long time, it may no longer meet its original rating. Replace parts that show signs of wear or damage.
How to Verify Ratings During Sourcing
When you receive parts, check the markings. Look for the size, material, and pressure rating or class. If the marking is unclear, ask the supplier for a certificate of material or a test report.
Compare the marking to the technical data sheet you approved. If there is a discrepancy, stop. Do not install a part that does not match the design specification. This is a simple check that prevents costly failures.
Keep a record of the ratings used in the design. If you change a component later, you must re-evaluate the system. A new part with a lower rating can compromise the safety of the entire line. Documentation is part of the safety process.
Final Checks Before Commissioning
Before you turn on the system, perform a final review. Check that all components match the design pressure rating. Verify that the safety devices, such as pressure relief valves, are set to the correct limits.
Run a test. Apply a pressure slightly above the working pressure but below the component ratings. Hold it for the required time. Check for leaks and for any movement of the components. This test confirms that the parts can handle the pressure in the real world, not just on paper.
If the test reveals a leak or a weak point, do not press on. Isolate the system and investigate. A small leak now is a much larger problem later. The pressure rating is a promise from the manufacturer. Your job is to ensure the system operates within that promise.
Frequently asked questions
Can I use a pipe with a higher pressure rating than the system requires?
Yes, you can. Using a higher rating provides a larger safety margin. However, it may increase the cost of the material and the weight of the system.
Is the pressure rating the same as the test pressure?
No. The pressure rating is the maximum operating limit. The test pressure is a higher value used during manufacturing or commissioning to verify the integrity of the system.
How does temperature affect the pressure rating of a fitting?
Higher temperatures reduce the strength of the material. This lowers the maximum allowable pressure. You must use the derating tables provided by the manufacturer to find the correct limit at your operating temperature.
What is the difference between a pipe rating and a fitting rating?
A pipe rating applies to the length of pipe. A fitting rating applies to the specific component, such as a valve or elbow. They may differ because of differences in wall thickness and shape. You must check both.
Do I need to match the pressure class of every component in the system?
You do not need to match the class number exactly, but the rating of every component must be equal to or higher than the system working pressure. The weakest component determines the system limit.